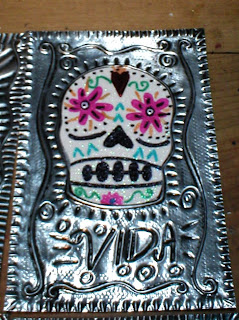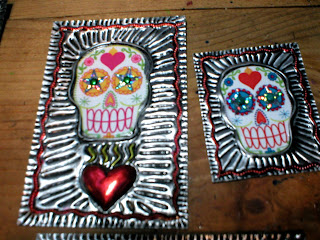

This is a simple way to make a shrine out of recycled materials. You simply take a box of some sort, cut a CD or other round object in half and then screw it on the top. I love recycling!!! Clean up the environment and save $. How can you lose? Besides, they look amazing!! This tutorial is for the basic shrine shape. What you do with it is up to you. I will post a few tutorials on how to make shrine elements out of polymer clay, including skeletons, so stay tuned!
What you will need:
- a box of some sort (I usually use hinged wooden boxes that I take apart. This way you have two!!). Make sure the box has some sort of lip on it.
- CD, jar lid, or other round (found) object that will serve as the top of your shrine
- tin snips
- ruler
- Sharpie
- drill and drill bit (I use a 1/16" drill bit)
- tiny screws (the size that usually comes with saw tooth picture hangers)
Step 1: Aha, another victim!! Choose your box and disassemble if necessary. Remember to make sure that you choose a box with a lip on it; this is where you will be attaching your lid.


Step 2: Choose a round object that will become the top of your shrine. Choose a CD, jar lid or other object. You will be cutting this object in half, so make sure that the size of your round object, when cut in half, is smaller than the width of the top of your box. Take your sharpie and ruler and draw a line through the middle of your round object.

Step 3: Using your tin snips, cut the object in half.

Step 4: Position the half of the lid (or CD) onto the top of your box, and taking your drill, drill a hole through both objects (the lid and the box).


Step 5: Screw the lid to the box. I attached this one after I applied the glitter. Usually I attach it before decorating, this way the screws won't show.

Step 6: Decorate your shrine and enjoy!! Note: I used Crafty Chica glitters on this one!! (Available online at Amazon or at Select Michael's stores). (Sorry I can't post the link, still working on that one). Amazing colors!!
Read more...


 Don't forget to use glitter glue to give the flower petals a little sparkle!